Step 2: Start the Local Dev Environment
Unit test ->Dev runner ->Test net -> Production
TApp development needs 4 basic steps.
Unit test: Run
cargo testafter every code change. This is the fastest way to test the logic.Dev runner: The local development environment. It's a simulator of the TEA Project runtime but running locally. Like Hardhat for Ethereum, this is the quickest way to test and verify the front end and back end logic integration.
Testnet: This is almost the same as the final production environment but all the assets are not real so any mistakes won't cause real fund losses.
Production: This is the last step where code is run in the real production environment. Please note that any mistake in your code may cause real fund losses.
In the previous step, we walked through the unit test. In this step, we'll walk through the Local Development Environment, called "Dev Runner".
The local development environment (dev-runner) is a docker configuration. It simulates one hosting node and one state machine node that runs in your local computer under docker. There's no hardware protection, so all Remote Attestation and consensus are simulated.
Prerequisites for Installation
Git
Docker: install docker (version 20.10.23 or above) and "docker compose"
Node.js. Again, make sure you're using node version 14.14.0.
Running the tests
Prepare your custom actors
If you have any custom wasm actors that need to be loaded, you should place them in the directory local. In our sample-actor case, you can find the file located in the tutorial-v1 repo at ~/sample-actor/target/wasm32-unknown-unknown/release/sample_actor.wasm. Note that this file will be copied to the local/b-node folder of the dev-runner repo as part of the build process, and the dev-runner will load all wasm actors inside the local folder.
Let's build the sample_actor.wasm file and copy it into the dev-runner repo. From the tutorial-v1 repo, run ./build.sh in the sample-actor folder to build the wasm file. In the last step of the build file it will copy it to the local/b-node directory of dev-runner.
Start the docker container servers
You can run with server mode by doing the following:
(If you installed docker-compose please replace the docker compose up command with docker-compose up)
Please wait for all the containers to start and confirm that the log isn't showing any errors.
Use CURL to send json http post request without front end
While the server's running, open another terminal and run the following:
You should see the following output:
Now you know the server is running and the sample actor responds as expected.
You can also use Postman or any testing tools to simulate a front end sending requests to the server. Just make sure:
Use the following address:
localhost:8000/say-hellojson request
http post
Use the json request as given above
In our next session we'll create a sample-front-end project. It will run such requests in the browser to make future tutorials easier.
Start the front end
Make sure you're in the sample-front-end folder of the tutorial-v1 repo and to start the front-end run the following commands:
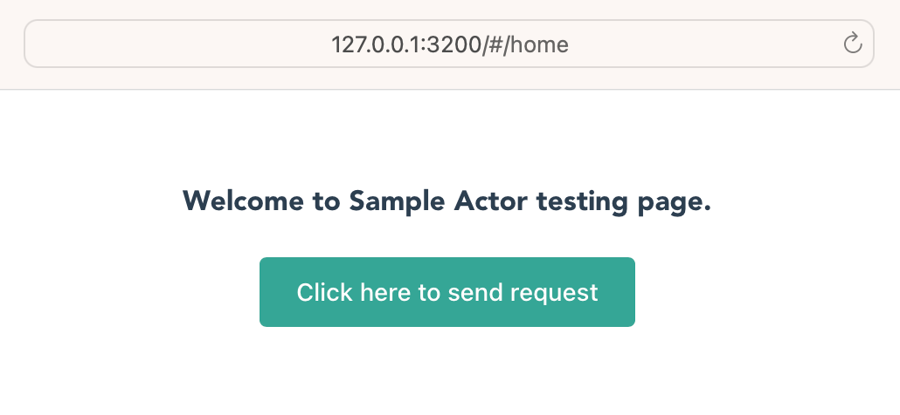
Open a browser and visit [http://127.0.0.1:3200].
You should see a page with the text "Welcome to Sample Actor testing page" and a single button, "click here to send request".

Clicking on the button should result in a "Hello world!" popup.
Please make sure your dev-runner is up and running. If not, follow the instructions in the previous steps. If the backend is running correctly, you can click the button to send a request to the sample-actor. You should see the response in a browser alert:
Congratulations! Your first TApp is correctly running in your local development environment.
In the next step, you'll learn how to deploy it to the testnet.
Limitations of dev-runner
Dev-runner is a docker simulation of the real TEA-runtime. It's different in the following aspects:
There's no hardware security.
There's only one host node and one state machine node.
No consensus is required since there's only one state machine node.
There's no real remote attestation. All nodes are assumed to be "good " nodes.
There's no layer-1 (Ethereum) interaction.
All initial funding is provided in the DAO_RESERVE account. Of course, this money is fake.
You can stop the docker container at any time, and it will get back to the original state when you restart . You cannot store the state.
Last updated